Concrete Micro-Topping Break Room Floor: A 36 Hour Fix

Things don’t always go according to plan. Sometimes great ideas can produce poor results. Much of our business comes from these situations. A contracting firm who was wrapping up a new credit union branch contacted us recently. The original design called for sealed concrete in the hallway, bathrooms, and break room. The contractor applied a sealer and continued to finish the project. Unfortunately, what they sealed was a slab with rust stains, chalk lines, Sharpie markings, concrete patches around the drains, and a bunch of red fire stop caulking where every wire or conduit passed through the floor. This was not what the designer envisioned when calling for sealed concrete! The client wasn’t very happy either. Unfortunately, the branch was now open and the condo building above was fully occupied. This presented some challenges in how to go about fixing the mess.
The first challenge was to design a system that could be installed start to finish Saturday afternoon at closing to Sunday night. This would allow the contractor to come put everything back together on Monday, which was a holiday. Not only did the products have to be fast drying, working after hours meant that we couldn’t make a lot of noise, so grinding the floor was not an option. Everything had to be low VOC since we were working directly below occupied condos units. We chose a Miracote concrete micro-topping with integral color. We sealed it with a water based epoxy primer and a fast drying aliphatic polyurethane top-coat.
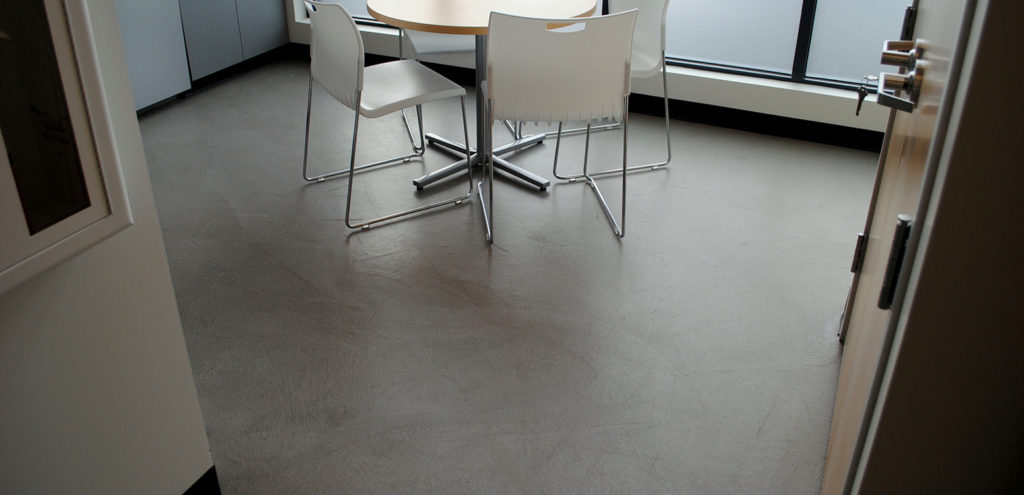
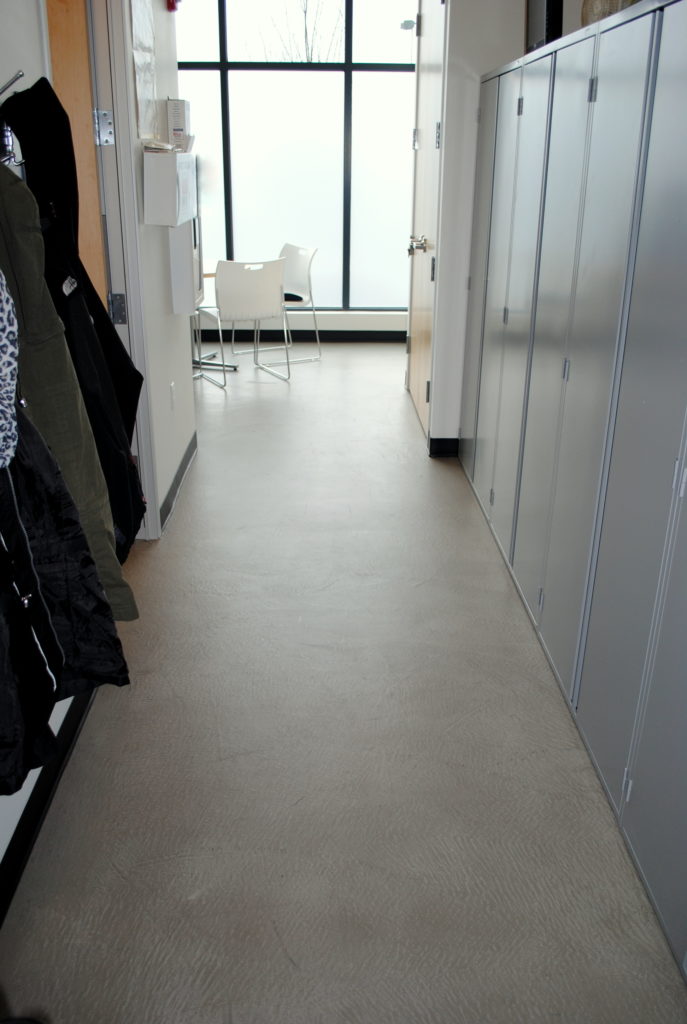
Concrete micro-toppings can achieve a great bond to an existing surface through the use of a primer coat when grinding the floor isn’t an option. We used a diamond sanding pad to remove the sealer on the surface without making a lot of noise. We primered the floor. Two coats of micro-topping were then installed with a magic trowel. An integral color eliminated the need for a separate coloring step in our already shortened time frame. We installed the base coat with a darker integral color. The second coat had a lighter integral color to create visual interest and a nice artistic effect.
The following morning, the two coats of micro-topping were dry. We rolled on the epoxy primer and later that day the Urethane top-coat. On Monday, the contractor installed the cove base, moved the refrigerator back into the break room, re-installed the toilets and put everything else back just as it was Saturday when the employees left.
On Tuesday when the credit union opened for business, they had a nice durable concrete floor that would be easy to maintain without all the ugly stains and marking of the original sealed concrete floor.
Tags In
Related Posts
Categories
- Acid Etch (2)
- Acid Stains (1)
- Acrylic (1)
- Basement Flooring (5)
- Broomed Overlay (1)
- Commercial Flooring (15)
- Commercial Kitchens (4)
- Concrete Dyes (5)
- Concrete Resurfacing (17)
- Decorative Concrete (16)
- Decorative Concrete Coatings (16)
- Designer Epoxy Flooring (5)
- DIY Epoxy Kits (3)
- Embedded Logos (2)
- Epoxy (15)
- Epoxy Broadcast Floors (1)
- Epoxy Coatings (7)
- Epoxy Flooring (6)
- Epoxy Floors (6)
- Epoxy Mositure Barrier (4)
- Epoxy Paint (4)
- Featured Post (6)
- Flexible Epoxy (1)
- Fluid Applied Floors (3)
- Food Processing (2)
- Garage Floor Coatings (7)
- Hand Troweled Floors (1)
- Hot Tire Pick Up (2)
- Integral Cove Base (1)
- Loading Docks (1)
- Metallic Epoxy (5)
- Metallic Marble Stains (2)
- Micro-toppings (10)
- Moisture Mitigation (2)
- Plywood Sub-Floors (1)
- Polyaspartic (9)
- Polyurethane (7)
- Seamless Floors (13)
- Spray-on Overlay (1)
- Stained Concrete (5)
- Stamped Concrete (4)
- Stencils (3)
- Thermal Shock (1)
- Uncategorized (3)
- Urethane Cement (3)
- Water Damage (1)
- Waterproof Concrete Decking (1)

