Professional vs. DIY Epoxy Garage Floors
We get asked all the time about DIY epoxy kits sold at the box stores. These stores, as well as some paint stores that sell similar kits, want you to believe installing an epoxy floor is just like painting. If you can paint, you can install epoxy. While this may be true with the little kits they sell, there is much more that goes into installing a long lasting professional floor coating. These differences are also why you might experience sticker shock when you get a price from a professional, if you have already priced out the box store kits. So here are my thoughts on the DIY vs professional epoxy question.
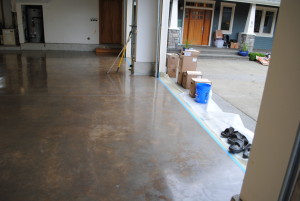
Surface Prep.
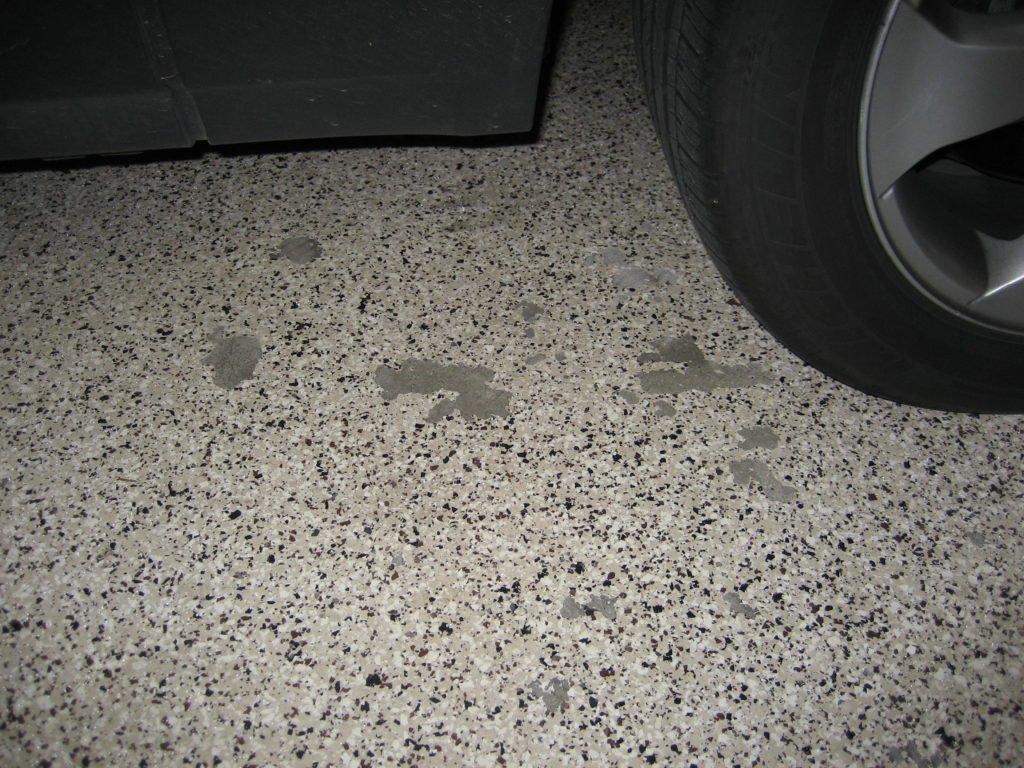
Any professional who knows their stuff, will tell you one of the most important factors in achieving a quality lasting coating, is surface preparation. Most epoxy manufacturers recommend a CSP3 (concrete surface profile) for epoxy to adhere to. This is roughly the equivalent of a 60 grit sand paper. The DIY kits come with an acid that is supposed to etch the surface to create profile. In a best case scenario, acid will achieve a CSP2, but more typically a CSP1 is the result. A smoother surface gives the epoxy less to grip to and is more likely to lead to failure. We get questioned all the time about ‘hot tire peel’ where the epoxy lifts under the vehicles tire when it is moved. This failure is from a thin coating that isn’t bonded properly largely due to poor surface prep. The other predominant issue with using an acid is that it has to be neutralized and rinsed several times with water. Since concrete is porous, water can seep into the concrete and take several days if not weeks to fully dry out. Why is this problematic? Epoxy coatings are non-breathable. If there is moisture trying to escape after the coating is installed, it will cause it to bubble or blister and ultimately lead to a failure.
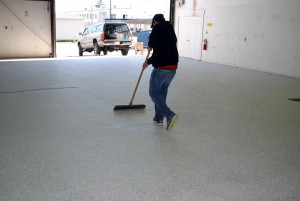
Epoxy Broadcast Floor
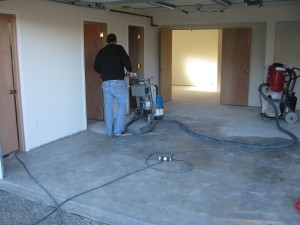
Most professional will either shot-blast or diamond grind the surface for prep. Not only does this create the desired CSP3, it also removes laitance, or the milky layer of cement and fine sands that make up the smooth finished surface of a slab. Since the life of a coating is dependent on proper adhesion, adhering to the weakest layer of the slab is not ideal. While this weaker layer may hold up fine in some cases, if the original concrete was slightly over-wet, or if it was finished prematurely, it could be problematic, especially under industrial traffic like forklifts or heavy equipment. While you may never plan to run a forklift in your garage, the principles of installing a quality coating still apply and professionals are going to do what is known to work best.
Shot blasting and grinding also achieve the proper CSP3 without adding any moisture to the surface. This requires a special vacuum designed to contain the large amount of dust created while grinding or shot-blasting without losing suction. They typically use the same vacuum to pull any remaining dust out of the pores in the concrete before installing a coating. Not rinsing the floor doesn’t mean you are free from moisture worries. Moisture vapor can be present from ground water and can cause a coating to fail if it isn’t treated. Accurately testing for MVT, or moisture vapor transmission, requires a kit you can’t just pick up at the box store. Often there are indications of a possible problem that a professional would be able to identify, that your typical homeowner may miss.
Products
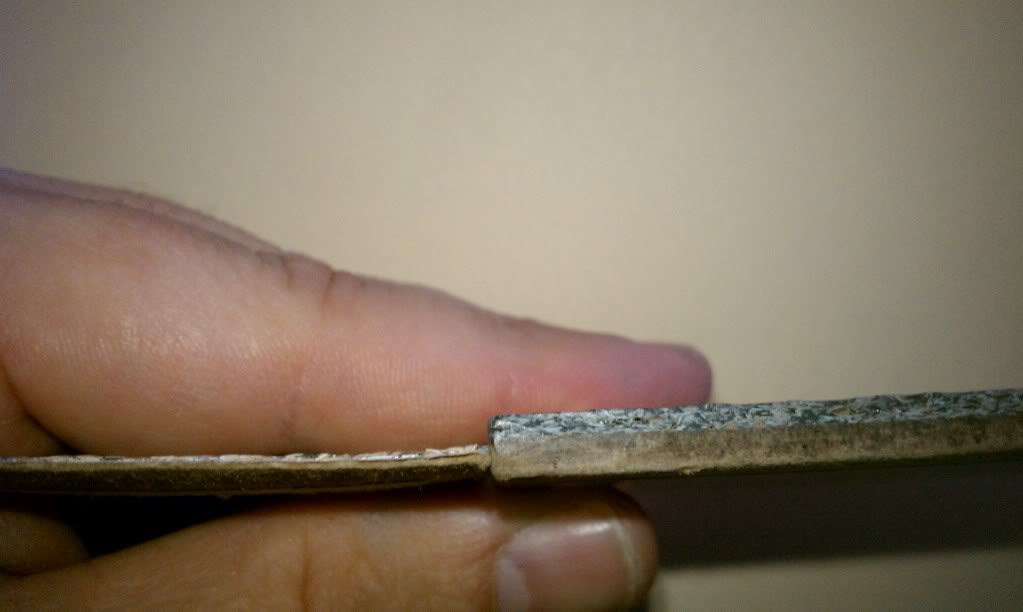
DIY epoxy kits usually contain a 50% solids water based epoxy. The amount of solids is the amount of material that remains after the product has completely dried, so in this case, 50% of the original material will remain. Most kits will recommend 1 gallon of material for a 1 car garage or roughly 250 square feet per gallon. Coatings are rated in mils. 1 mil equals 1/1000 of an inch. So a single coat of DIY epoxy at 250 square feet per gallon would mean the finished coating on the floor after curing is roughly 3 mils thick.
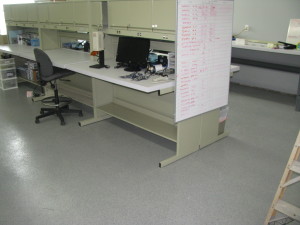
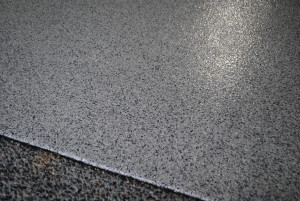
Broadcast into the Epoxy Color Coat
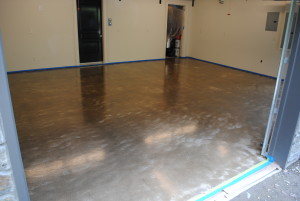
Most professionals will use several specialized product in the install. After surface prep, we typically use a water based primer that helps block moisture and prevents out-gassing bubbles in the thicker subsequent coats. When dry, this material is about 4 mils, so right off the bat we already have the more material on the floor. This is typically followed by a pigmented coat of 100% solids epoxy that is used to broadcast color flakes into. At 160 square feet per gallon this is another 10 mils of thickness. Unlike the DIY kits that offer a few ounces of color flakes that are nearly impossible to spread evenly across a floor without spiked shoes and some experience, we do a full broadcast where the entire floor is covered in flakes. Not only does this add more thickness, usually about another 5 mils, it also adds some texture to the finished floor to keep it from being too slippery. After we clean up the excess flakes from the broadcast, our typical floor get two coats of a high performance 85% solids polyaspartic top-coat. This super-fast curing product resists scratching better than epoxy, and is more UV stable making it a great top-coat. It can be walked on in 4 hours and driven on the next day, which is a little better than the DIY kits 3 day waiting period for vehicle traffic, and 24 hours for foot traffic. The first coat of polyaspartic goes down at roughly 12 mils, but fills the voids between the flakes, so it doesn’t add much actual floor thickness. The final coat does add another 3 mils or so, bringing the finished floor to a total thickness of 20 to 25 mils, making it over 5 times thicker than the DIY kits even when you use their top coat. And if you consider that this system is made up of specialized products that each preform a specific function, the over-all quality is night and day as well. A coating that is only 3 thousands of an inch thick, will obviously be easier to damage than one that is 5 times thicker.
Man Power
The DIY kits are designed for easy application. A homeowner can follow the steps and apply the coating by themselves in a matter of hours. A professional floor system typically takes a crew to install. 100% solids epoxies are much thicker than their DIY counterparts. They don’t roll on like paint and are typically spread with gauge rake that determines thickness, and then back rolled to even them out. They usually have a pot life of around 20 minutes, and a working time on the floor about twice that. That means after they are mixed, you have to cut in all your edges, spread the product, and back roll it while still leaving enough time to broadcast your flakes in under 40 minutes. Contrarily, a DIY kit offers a two hour pot life which gives ample time for a lone individual to do it all. The short working time for 100% solids epoxies, means that usually someone is mixing and cutting in, while someone else spreads and rolls, and a third individual is out in the wet material on spiked shoes spreading the flakes. It can be done with fewer people, but not typically by anyone who isn’t extremely familiar with the process. When it comes to the polyaspartic top-coats, the working time is even shorter. The 85% polyaspartic have a pot life of 15 minutes and a working time around 25.
Equipment
So why can’t a DIY’er buy professional products and got to town? Certainly you can. There are a few companies that sell professional grade epoxy kits to DIY’ers. However, most don’t. The simple reason why, is that most people don’t have all of the other equipment needed to properly install a professional epoxy floor. Just about everybody has a 9” roller frame and paint tray from some past painting project. Pick up some gloves and and could add some gloves and goggles and you have everything you need to crack open a DIY kit. Professional systems, are different. You can’t mix 100% solids epoxy by hand. You need a drill and a jiffy mixer type attachment. You also need something to spread the epoxy with. We typically use a squeegee or gauge rake. If you are doing anything larger than a tiny one car garage, you need an 18” roller or you won’t be able to spread the epoxy fast enough. You also need solvent to clean your tools when done, unless you plan on throwing them away. Spiked shoes are necessary to walk out in the wet epoxy to broadcast flakes. And these are just the cheap tools. When you consider what is needed for surface prep; a diamond grinder with the proper diamonds or a shot blaster and a vacuum for the dust, it becomes even more unrealistic even if these are available to rent.
In A Nut Shell
Many epoxy manufacturers require certification to even buy their products, which is in such stark contrast to the ‘anyone can do it’ DIY kits. We remove lots of DIY coating failures. And while there are plenty of stories of people who have had good success, I feel there are plenty more where people don’t want to admit it didn’t turn out well. And those who just assume they must have done something wrong. This is why companies can keep selling the DIY kits. It is a huge business for companies with very deep pockets. And even if it ultimately comes to a lawsuit, they will have already made their money and the lawyers will be the only ones who benefit in the end. Just Google ‘Rustoleum Coatings Lawsuit’ for more on that.
The reality is, you can’t expect $200 of product and a few hours of your time, to compare with a few thousand dollars of product and multiple days of a professional crew’s time. No one product is perfect for every application. Sometimes the DIY stuff is fine. Many times it isn’t. A Ford just doesn’t perform quite like a Ferrari. And as long as people understand that one is a Ford, and one is a Ferrari, it’s all good. People think I am against DIY kits. I am not. I am against people being ignorant to the differences.